
Have you ever found yourself in a situation where you needed to capture a crucial moment on your Gateway laptop screen but weren’t sure how to take a screenshot? In this article, we’ll provide you with a step-by-step guide on how to capture screenshots on your Gateway laptop.
But first, why would you want to take a screenshot on your Gateway laptop? Screenshots serve as a convenient way to capture essential information, such as error messages or important documents, which can be easily shared with others. They also come in handy when creating tutorials or presentations, allowing you to include visual aids. In essence, knowing how to take a screenshot is a valuable skill for Gateway laptop users. Not only does it enable you to capture critical information, but it also proves to be a time-saving and efficient practice.
If you own a Gateway laptop, it’s essential to be familiar with the process of taking screenshots. Fortunately, capturing screenshots on your Gateway laptop can be done in various ways, including full-screen, partial-screen, and window screenshots. Each method offers unique benefits depending on what you aim to capture.
Full-screen screenshots are perfect for capturing everything on your display, while partial-screen screenshots enable you to focus on specific portions of your screen. Additionally, window screenshots allow you to capture the content of an active window only. So, whether you want the entirety of your screen or a specific area, knowing these methods provides you with flexibility in capturing the content you need.
Different Methods of Taking a Screenshot on a Gateway Laptop
Taking a screenshot on your Gateway laptop is a breeze, and here are the simple steps:
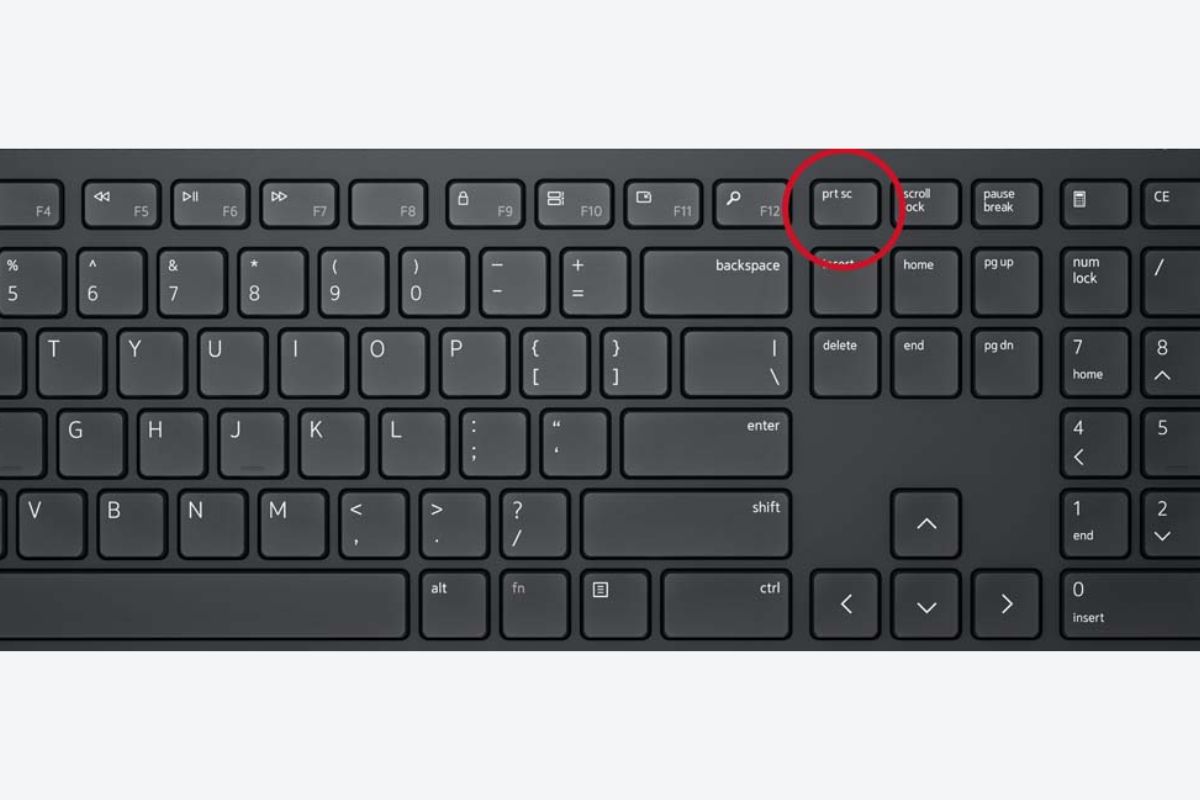
- Capture the Entire Screen:
- Press the “Print Screen” or “PrtScn” key.
- Open an image editing program or document to save or edit the screenshot.
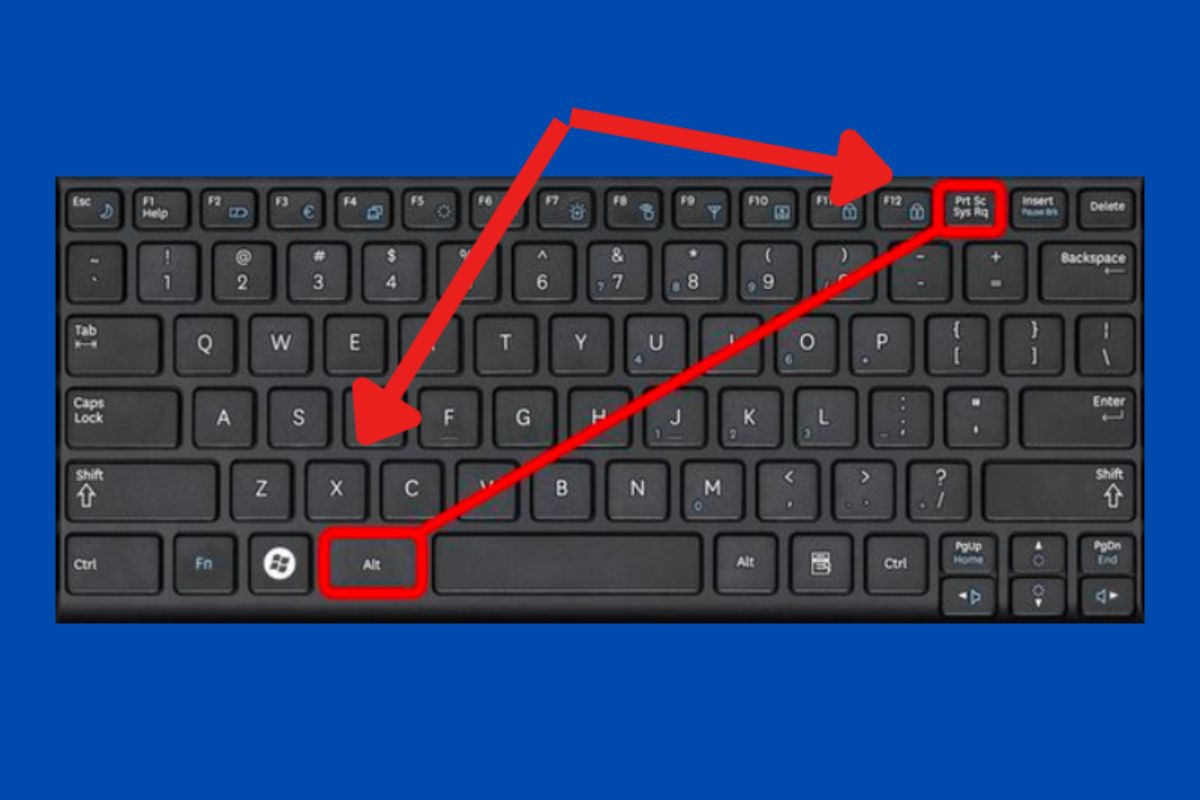
- Capture a Specific Window:
- Simultaneously press the “Alt” key and the “Print Screen” key.
- Paste the screenshot into an image editing program or document for saving or editing.
- Capture a Portion of the Screen:
- Press the Windows key, Shift key, and S key simultaneously.
- Use the cursor to select the portion of the screen you want to capture by clicking on it.
These methods provide you with the flexibility to capture the entire screen, specific windows, or custom portions, and you can easily save or edit the screenshots based on your needs.
Must Read: How to Disable Dictionary on Mac?
Method 1: Using the Print Screen Key
Capturing a screenshot on your Gateway laptop is a breeze with the Print Screen key. Here’s a step-by-step guide:
Step 1: Navigate to the Screen
Ensure that the screen you want to capture is displayed on your Gateway laptop screen before proceeding.
Step 2: Press the Print Screen Key
With your desired screen in view, press the “Print Screen” key. This method captures an image of all elements on your screen, including the taskbar and open windows.
Step 3: Open an Image Editing Program
After using the Print Screen key, open an image editing program such as Microsoft Paint or Adobe Photoshop.
Step 4: Copy and Paste the Screenshot
Paste the screenshot into the image editor by pressing “Ctrl” and “V” simultaneously or selecting “Paste” from the “Edit” menu.
Step 5: Edit the Screenshot (Optional)
Edit the pasted screenshot as needed. You can crop, add text, shapes, or adjust colors to suit your requirements.
Step 6: Save the Screenshot
After editing, save the screenshot by choosing “Save” from the “File” menu. Specify a file name and location, and your screenshot is now stored on your Gateway laptop for future use.
Must read: How to Fix LED Lights that are Different Colors?
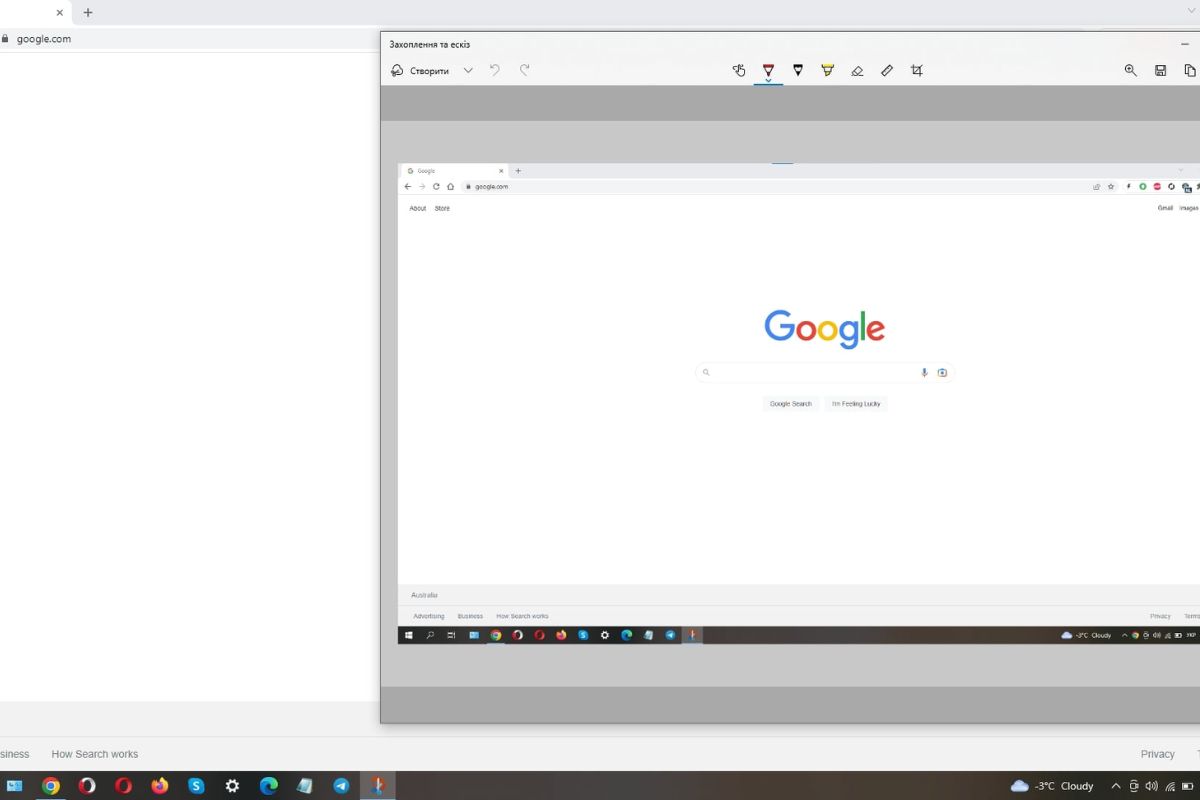
Method 2: Using the Windows Snipping Tool
Utilizing the Windows Snipping Tool on your Gateway laptop offers versatility in capturing screenshots. Here’s a simple guide:
Step 1: Open the Windows Snipping Tool
Navigate to the “Start” menu and type “Snipping Tool” in the search bar. Click on the Snipping Tool icon in the search results to open it.
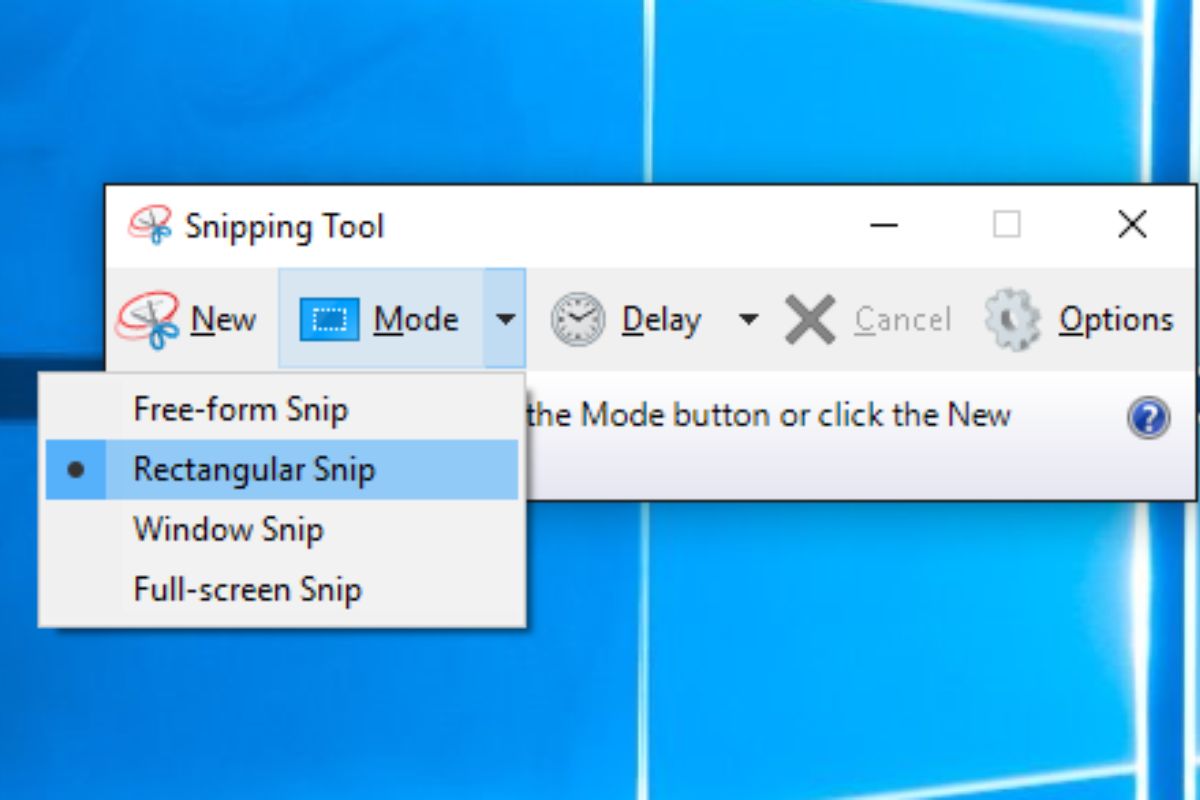
Step 2: Select the Type of Snip
Next to “New,” choose the type of snip you want – options include free-form, rectangular, window, or full-screen snips.
Step 3: Capture the Snip
Click and drag your cursor to select the portion of the screen you wish to capture based on the chosen snip type.
Step 4: Save the Snip
Once the snip is captured, it will appear in the Snipping Tool window. Edit, highlight, and add text as needed. After editing, click “File,” choose “Save As,” specify a file name and location, and save the snip for future use.
Step 5: Exit the Snipping Tool
After saving your snip, exit the Snipping Tool by clicking “File” and selecting “Exit,” or simply click the “X” in the upper-right corner of the Snipping Tool window.
Method 3: Using Third-Party Applications

An alternative approach to capturing screenshots on your Gateway laptop involves the use of third-party applications. These tools offer advanced features beyond what the built-in Windows tools provide, including video capture and annotation options.
Step 1: Choose a Third-Party Application
Explore various third-party applications like Snagit, Greenshot, or Lightshot, all available for free. Select the application that aligns with your requirements and download it from the developer’s website.
Step 2: Install the Application
Once downloaded, follow the prompts of the installation wizard to install the chosen third-party application on your Gateway laptop.
Step 3: Open the Application
After installation, open the third-party application. Depending on the application, you may need to specify the type of screenshot you wish to capture, such as a full-screen or window image.
Step 4: Capture the Screenshot
Choose the desired screenshot type and use your cursor to select the portion of the screen you want to capture. Some applications offer additional features like video capture or annotation options.
Step 5: Save the Screenshot
The captured screenshot will be displayed in the application window. If editing is required, click on “File” and then select “Save As.”
Step 6: Exit the Application
Once you’ve saved the screenshot, exit the third-party application by clicking “File” and choosing “Exit” or clicking the “X” in the upper-right corner of the application window.
Troubleshooting Common Problems

Troubleshooting Common Problems
Capturing screenshots on your Gateway laptop is a useful feature, but occasional issues might arise. Let’s explore some common problems and provide solutions to troubleshoot them.
Problem 1: Nothing Happens with the Print Screen Key
If pressing the Print Screen key yields no response, it might indicate a keyboard issue. Ensure the key is functioning by pressing it again. If the problem persists, try using an external keyboard to determine if the laptop’s keyboard is the culprit. Alternatively, explore other screenshot methods like the Snipping Tool or third-party applications.
Problem 2: Snipping Tool Captures the Wrong Area
The built-in Snipping Tool on your Gateway laptop might sometimes capture an unintended area. Troubleshoot by adjusting the Snipping Tool window’s size or position. Experiment with selecting a different area on your screen to capture.
Problem 3: Issues with Third-Party Applications
Third-party applications offer advanced features but may encounter glitches. If an application isn’t working correctly, consider reinstalling it. Restart your laptop, reopen the application, and ensure you have the latest version installed. Check for updates or patches that might address any issues.
Addressing these common problems ensures a smoother experience when taking screenshots on your Gateway laptop.
Final Words
Capturing a screenshot on your Gateway laptop is a handy way to preserve crucial information or memorable moments. The process is straightforward and can be accomplished in a few steps, whether you opt for the built-in Windows Snipping Tool or a third-party application. However, if you come across common issues like the Print Screen key not responding or glitches with third-party apps, fret not—there are troubleshooting tips to guide you through resolving these problems.
FAQs about How to Take a Screenshot on Gateway Laptop
Here are some FAQs of How to Take a Screenshot on Gateway Laptop:
How can I capture a screenshot on my Gateway laptop running Windows 10?
To take a screenshot on your Gateway laptop with Windows 10, simply use the “Print Screen” key. Pressing this key captures an image of your entire screen, encompassing the taskbar and all open windows.
What’s the method for taking a screenshot on a Gateway Chromebook?
For a Gateway Chromebook, press “Ctrl” and “Window Switcher” simultaneously to capture a screenshot. The Window Switcher key is typically located above the number 6 key, resembling a rectangle with two lines. Your screenshots will be stored in the Downloads folder. Additionally, you can use the Chromebook screenshot tool by pressing “Ctrl,” “Shift,” and “Window Switcher” together to select and capture a specific screen area.
Is it possible to take a partial screenshot on my Gateway laptop?
Certainly! Utilize the built-in “Snipping Tool” program on your Gateway laptop to capture partial screenshots. Locate the Snipping Tool in the Start menu by typing “Snipping Tool,” and after capturing the screen, you can save it as a screenshot using the tool.