
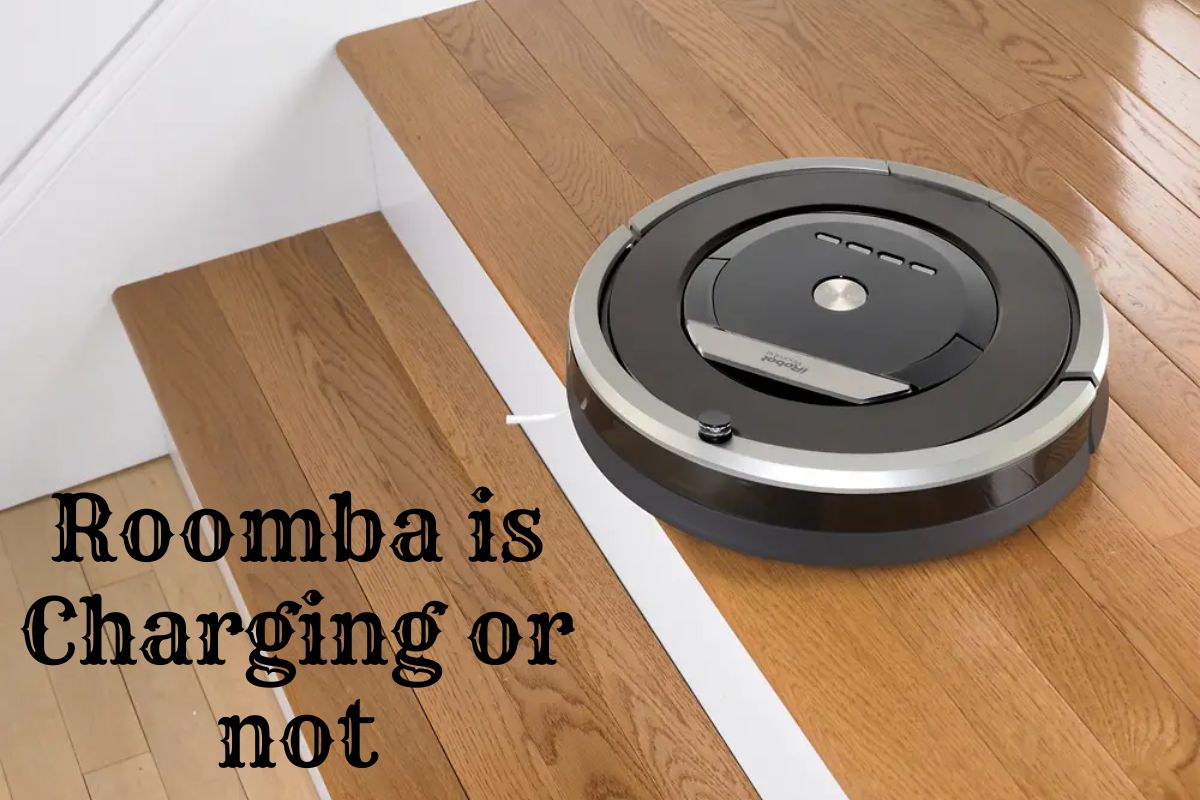
Wondering if your Roomba is actually charging when you put it on the dock? I get it – it’s annoying not knowing whether your little robotic vac is ready to clean or needs more juice.
Luckily, there are a few easy ways to tell. First, check the lights. When it’s charging, the battery light will be amber. When the battery is full, it turns green. Also, some Roombas beep when finished charging.
If you have a newer WiFi-connected model, just open the app! It will show the exact battery level and if it’s currently charging.
Lastly, watch your Roomba when it starts cleaning next. If it only runs for a short time before heading back to the dock, the battery likely wasn’t full. Let it charge longer before the next run.
Hope this helps provide some peace of mind on whether your handy Roomba pal is all powered up and ready to suck up the dirt! Just remember to check those lights, listen for beeps, or peek at the app.
Steps to know if Roomba is Charging or not?
In this guide, we will provide a step-by-step guide on how to tell if Roomba is charging.
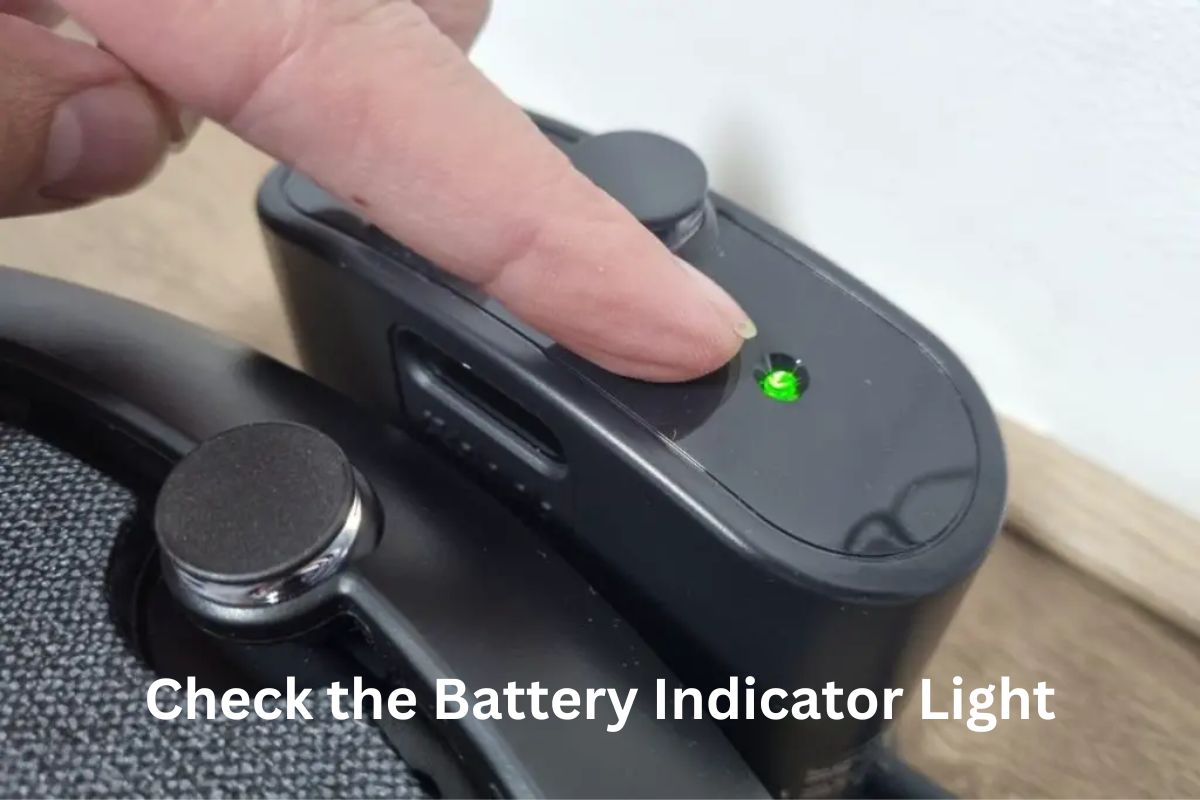
Check the Light
Look for a light near the “Clean” button on top of your Roomba. This is the battery indicator light. When it’s charging, this light will be amber/orange. When fully charged, it turns green.
Check the Time
It takes 2-3 hours to fully charge a Roomba battery. So if your Roomba has been on the dock for that long and the battery light is on, it’s likely charging.
Check the Battery Level
Press the “Clean” button and check the battery icon. If you see the level going up, then yup – it’s charging.
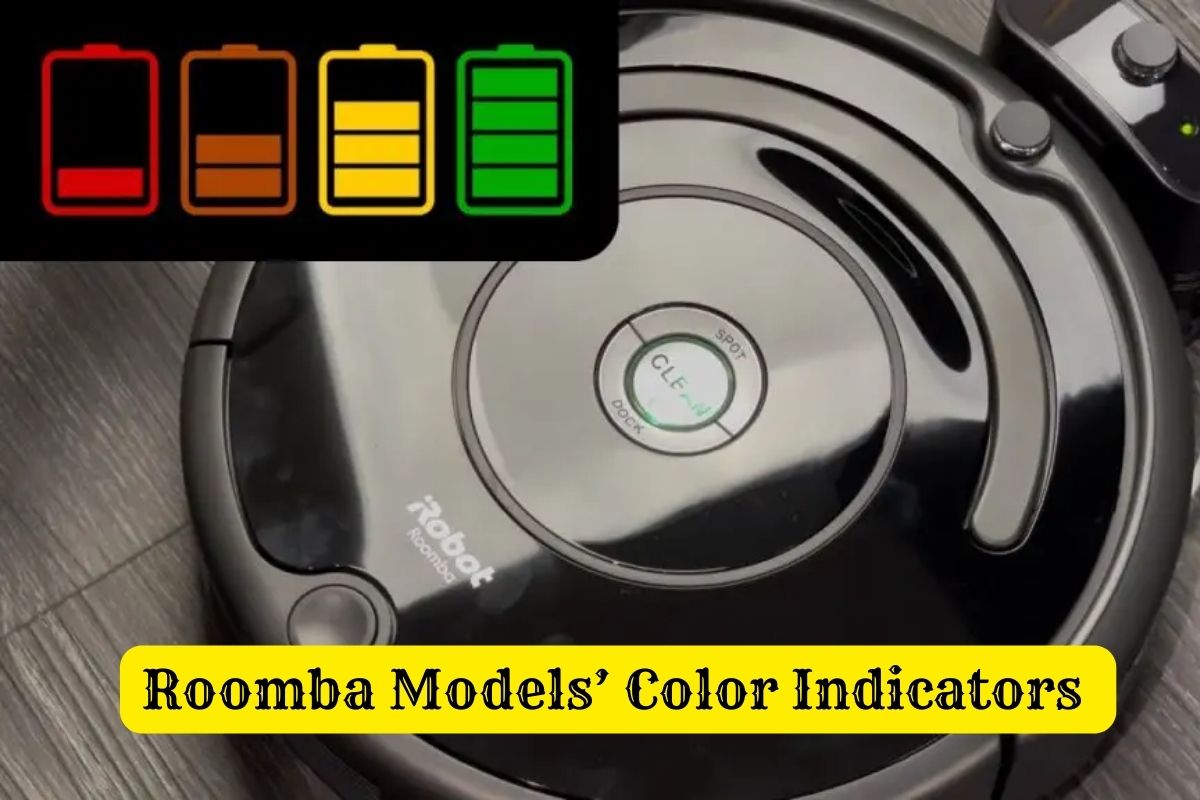
What the Colors Mean
Different Roomba models use different light colors to show the status:
- Amber/Orange light – Charging
- Green light – Fully charged
- Blinking light – There’s an issue, usually battery related
So keep an eye on those lights to know your Roomba’s charging status. If the color isn’t changing after a few hours, try reseating it on the dock to ensure a good connection. Charge up that battery so it’s ready to clean!
Roomba Models’ Color Indicators
The Roomba models have different color indicators that can help you understand the status of your Roomba.
Roomba 600 and 700 series
- Pulsing amber/yellow light – Charging
- Solid green light – Fully charged
- Blinking red light – Error or battery issue
Roomba e5
- Amber light – Charging
- Green light – Fully charged
- Red light – Charging error
Roomba i Series
- Pulsing/blinking white light – Charging
- Solid white light – Fully charged
- Blinking red light – Error or battery is too hot/cold
- Blue light – Connected to WiFi
So check for those colored lights to know the status. Pulsing amber/yellow/white means it’s still charging up. Solid green or white – battery full! Then it’s ready to roll off the dock and clean your floors.
How to Tell if Roomba j7+ is Charging?
The robotic vacuum cleaner Roomba j7+ is meant to have sophisticated cleaning features. The Roomba j7+, like all Roomba models, needs to be kept charged in order for it to efficiently carry out its cleaning duties. This post will explain how to determine whether your Roomba j7+ is charging.
Check the Charging Station
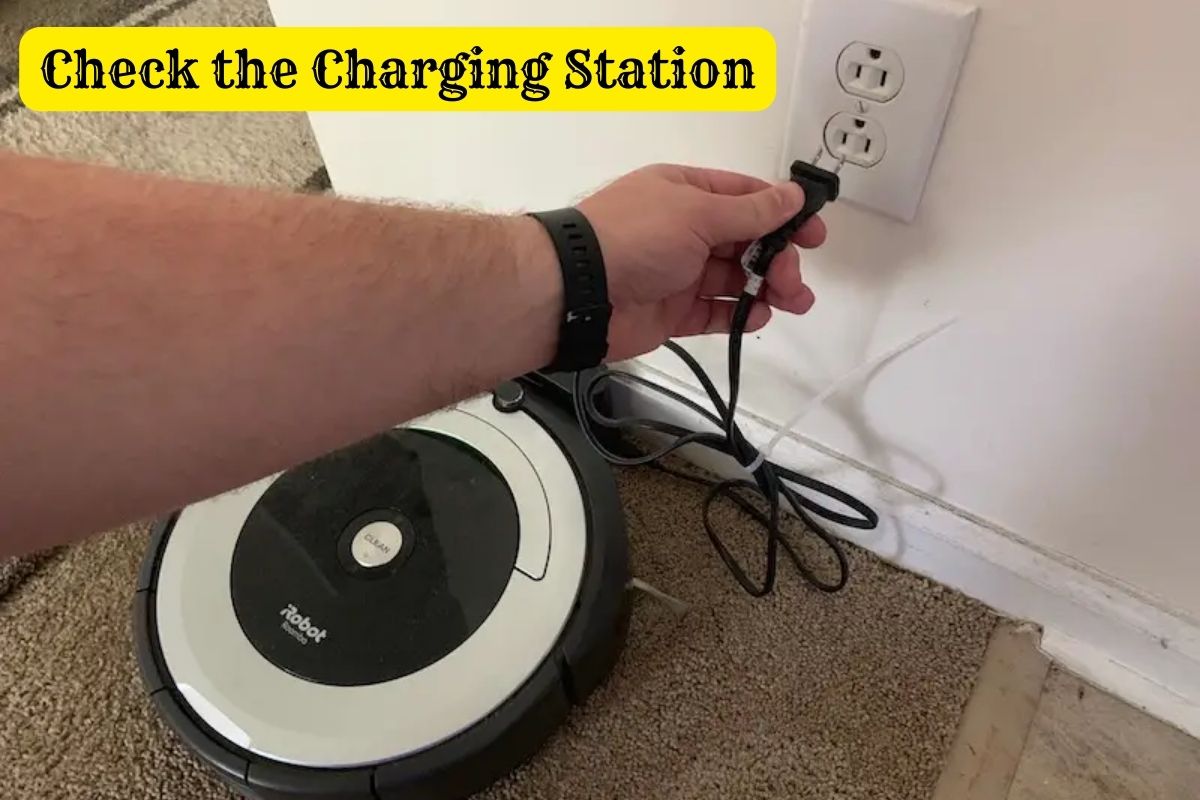
Make sure your j7+ is correctly lined up on the home charging station. When it’s charging, you’ll see lights on both the Roomba and the station.
Check the App
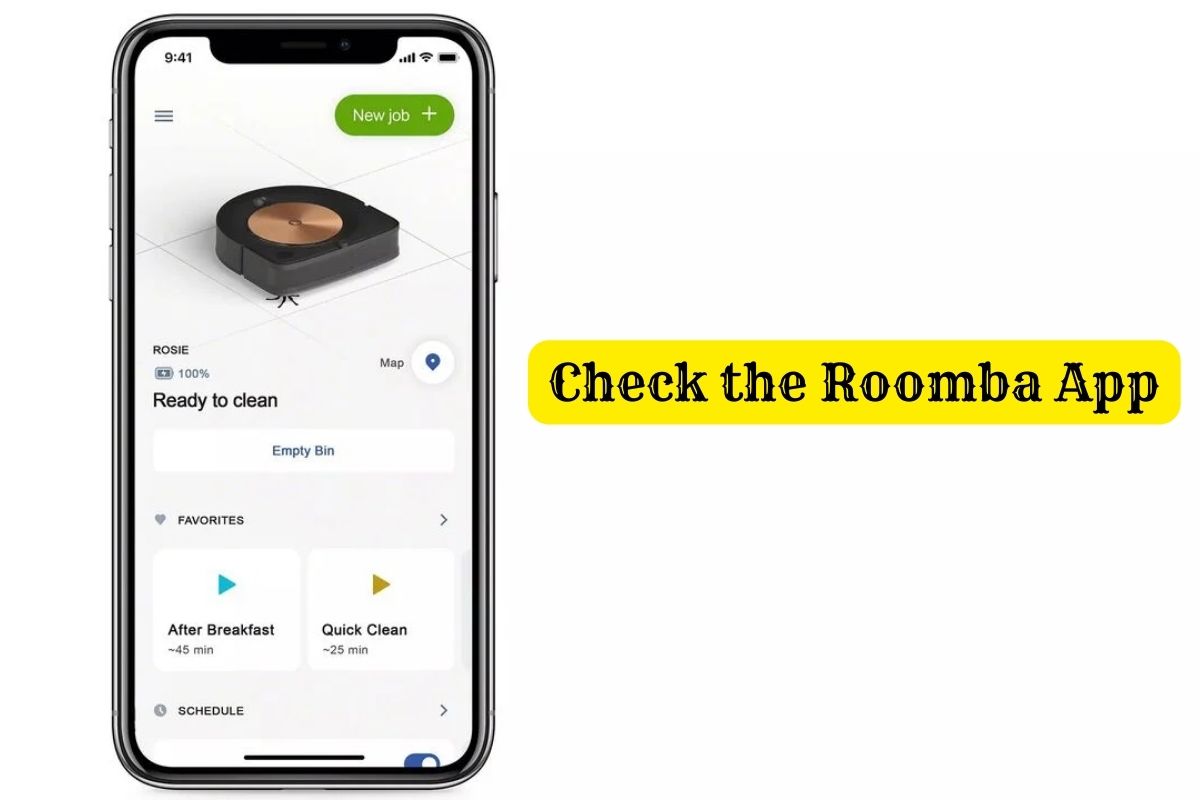
If you have the app connected, open it up and look at the battery icon. If you see the percentage going up – it’s charging!
Listen for the Chime

Your Roomba will play a little tune when it starts charging on the dock. So if you hear that, you know it’s getting juice.
Check the Battery Light
There’s a battery indicator light right under the “Clean” button on your j7+. If that light is on, the battery is charging up and getting ready for the next job.
So keep your ears open for the chime and watch for those lights. That’s how you can be sure your helpful little Roomba buddy is fueling up!
Why Does My Roomba Not Charge?
If your Roomba isn’t charging, it might be annoying, particularly if you depend on it to clean your floors. There are multiple ways to troubleshoot the problem. These methods will help you get your Roomba back up and running again.
Check the Power
Make sure the charger is plugged in fully and the outlet is working. Try plugging something else in to test.
Clean the Contacts
Use a dry cloth to gently wipe the charging contacts on both the Roomba and the dock. Buildup of dirt can block the connection.
Reset Your Roomba
Press and hold the “Clean” button for 10 seconds until the light ring turns red. This resets your Roomba system.
Replace Part(s)
If it still won’t charge after trying the steps above, the battery or dock might need replacing. Batteries last 1-2 years usually. You can buy replacements from the Roomba company or retailers.
Contact Support
If you’ve tried everything and it still won’t charge, you’ll need to contact Roomba customer support. They can help troubleshoot or set up service repairs if needed.
And remember – regular cleaning and maintenance helps avoid charging issues in the first place!
How to Reset a Roomba?
Among the many difficulties that can be fixed with a reset of the Roomba are software malfunctions and problems with charging. These are what to do:
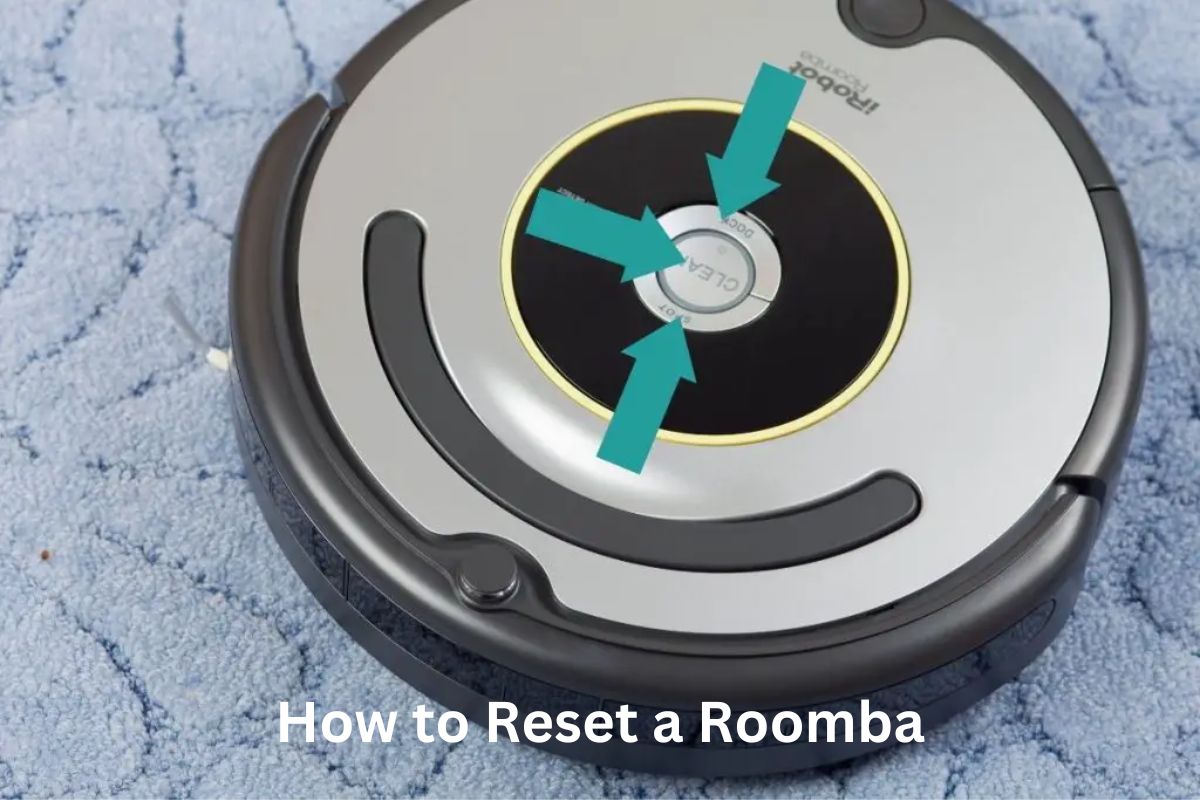
Find the Clean Button
The main Clean button is the big circular one in the center of your Roomba. It’s usually right under the handle on top.
Press and Hold the Button
Hold down that Clean button for 10-15 seconds. You’ll hear a beep and the lights will turn off as it starts resetting.
Let Go of the Button
After 10-15 seconds, you can release the Clean button. The lights will come back on and it’ll make some noises.
Wait for Reset to Finish
Give your Roomba another few seconds to complete the reset. It’ll play a tune when done and the light will flash.
Test It Out
Press Clean once quickly to start a cycle. If it cleans like normal, then the reset worked successfully!
So that’s all there is to it – locate, press and hold, release, wait, and test. Resetting brings your Roomba back to factory settings so it runs like new.
How Long Does it Take Roomba to Charge the First Time?
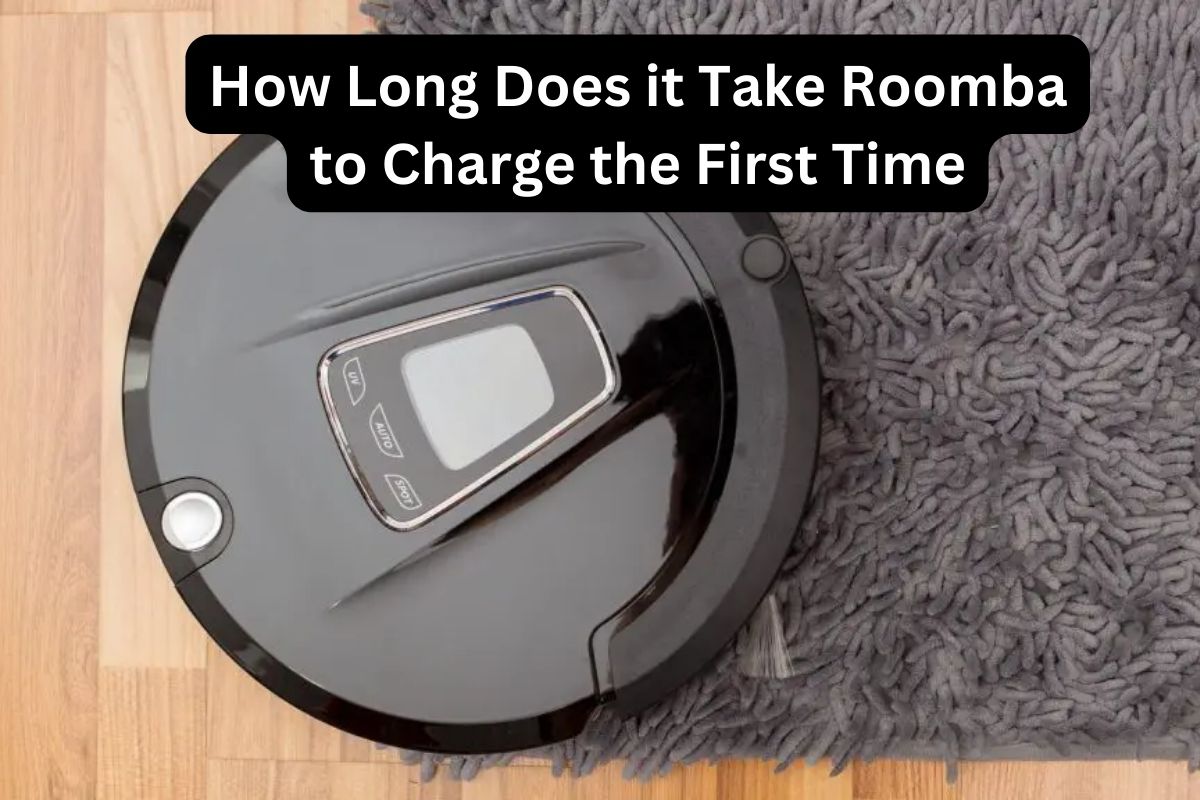
You’ll want to fully charge your Roomba’s battery before using it for the first time straight out of the box. How long this initial charge takes can vary.
Some Roombas may charge totally in 2-3 hours when first plugged in. But for most models, the first full charge takes longer – be sure to check the manual.
After that first long charge, it should be quicker. Most Roombas take about 2-3 hours to go from totally empty to full battery after you’ve used it a few times.
The exact charging time depends on factors like room temperature, how old the battery is, and how much you use your Roomba. Batteries lose capacity over time and with heavy use.
How to Maintain Your Roomba Battery?
Maintaining your Roomba battery properly can help it last longer and work at its best. The following advice can help you maintain the roomba batteries:
Charge After Each Use
Get into the habit of putting your Roomba back on the charging dock after every cleaning run. This maintains the battery’s health so it’s ready for the next job.
Don’t Overcharge
Most charging docks stop charging when the Roomba battery is full. But you can also unplug the dock for peace of mind against overcharging, which shortens battery life.
Store in a Cool, Dry Place
Keep your Roomba somewhere with a nice stable temperature, away from heat and sunlight. Extreme hot or cold wears down the battery over time.
Clean the Contacts
Use a dry cloth to gently wipe the metal charging contacts on the Roomba battery and home base every so often. Dust buildup can block the connection.
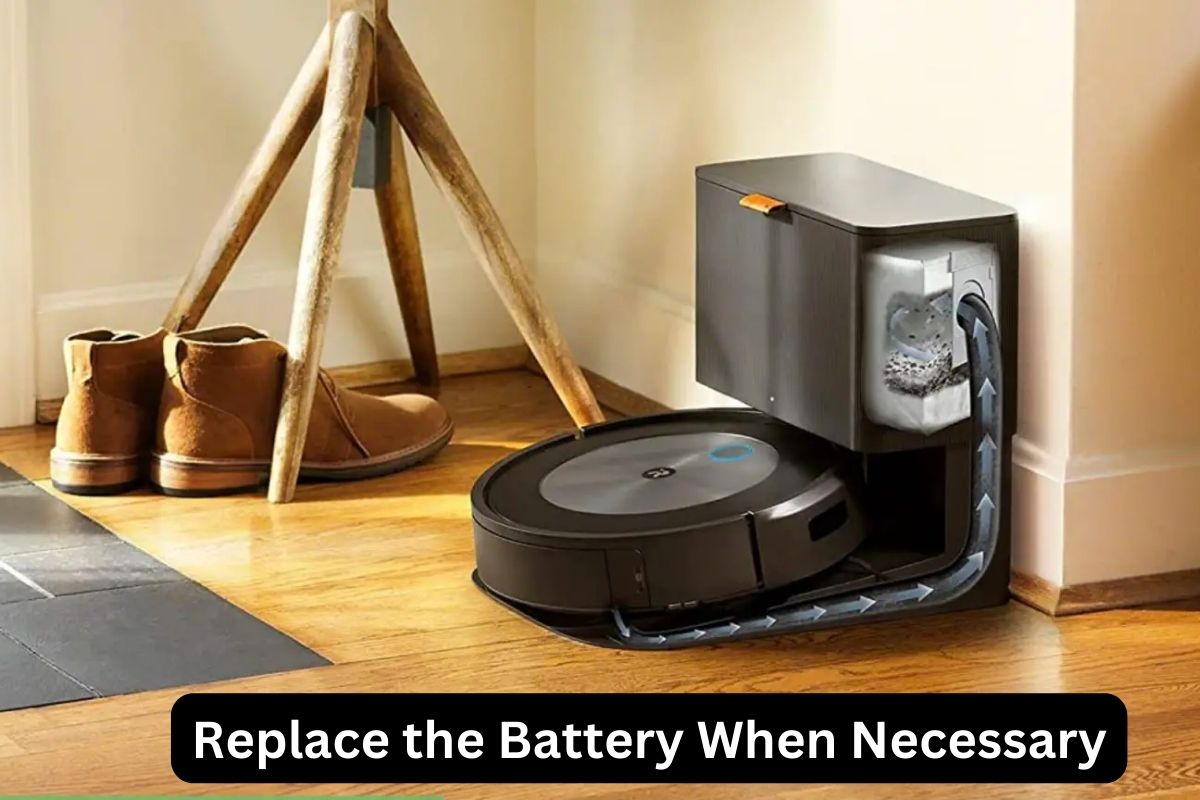
Replace Batteries When Needed

Plan on replacing batteries every 1-2 years. Signs it’s time include shorter run times and failure to hold a full charge. This keeps your Roomba running optimally.
Final Words
It’s important to know whether your Roomba is charging so you can be sure it’s ready to clean when you need it. The good news is, Roombas make it easy to tell! Just check the light ring, charging station, or battery level in the app. If those show it charging, you’re all set.
And for long-term performance, take good care of that Roomba battery. Be sure to plug it in after every use, don’t overcharge, store properly, clean the contacts, and replace batteries when worn out.
Following basic charging and battery maintenance tips will keep your Roomba in tip-top shape. Then it will always be powered up to sweep your floors clean! Whether new or experienced with Roombas, knowing these basics helps you get the most out of your robot vacuum.
Must Read: How To Unblock On POF (Plenty of Fishes)?
FAQs About How to Tell if Roomba is Charging?
Here are some FAQs about How to Tell if Roomba is Charging.
How do I know if my Roomba is charging?
Check the light ring on top. When charging, it will slowly blink amber/yellow. Some models also have a light on the charging base that glows.
Does the light stay on solid while charging?
No, the light pulses or blinks – it doesn’t stay solidly lit up during charging.
What color should the light be when charging?
The charging light color is amber/yellow. It blinks until fully charged.
Should the green light be on during charging?
Nope! Green means fully charged. The light will be amber/yellow while it’s still charging up. Then the light turns solid green when the Roomba battery is totally full.