
Hey photo friends! Do you ever wish you could get those magical images from your Canon camera onto your computer to edit and share? Well, connecting your devices is doable – and I’ll make it easy!
Hooking up your Canon opens up a whole world of photography potential. You can transfer pics to store, freeing up camera memory for fresh moments. And with editing software, the creative options are endless! You can also control your camera from unique angles.
Now I know the process seems intimidating. But no worries, I’ll walk you through it in simple steps! We need to look at your camera model, computer operating system, and connection options. These can include USB cables, WiFi, or card readers.
The goal here is to help photographers like YOU unlock your Canon’s capabilities. Imagine importing fresh photographs. Enhance them with customized edits. Then, upload your favorites to share.
So don’t be shy…grab that camera and computer! We’ll get you set up and expanding your skills in no time. Follow along as we bridge the digital gap between your devices. We’ll take your photography potential to the next level!
How to Connect Canon Camera to Computer?
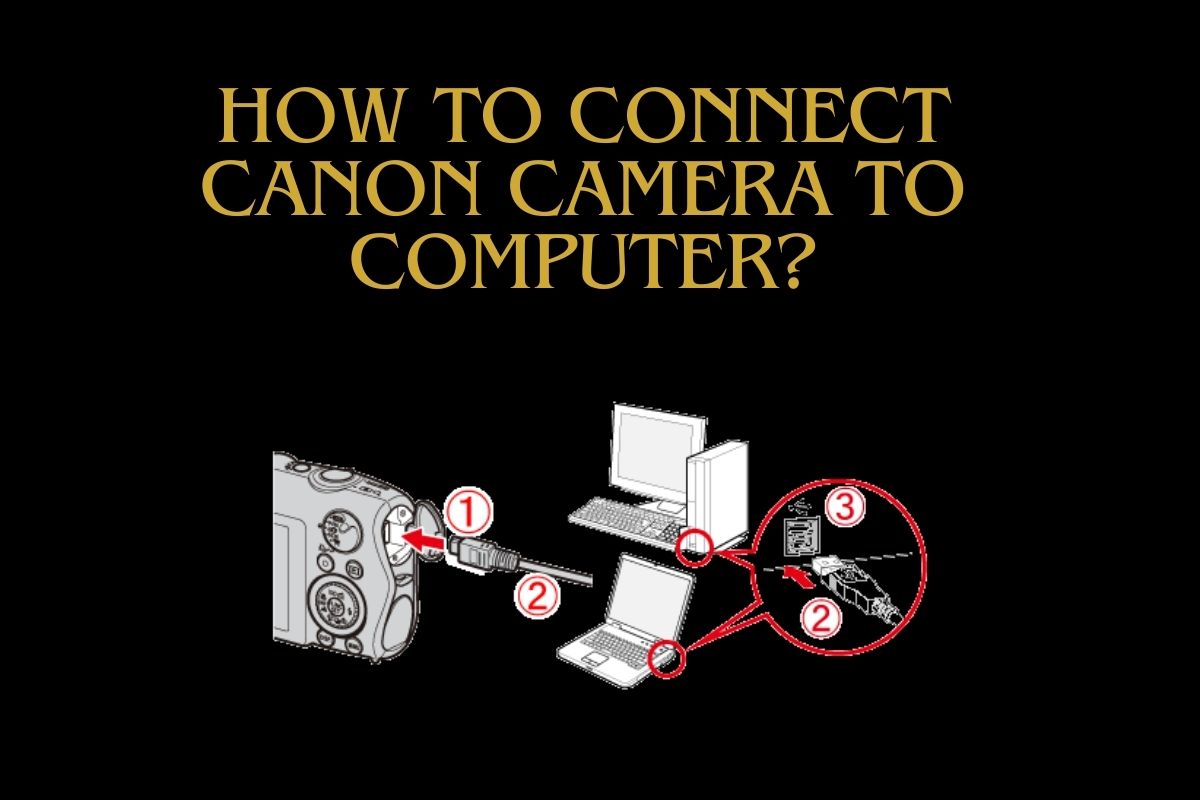
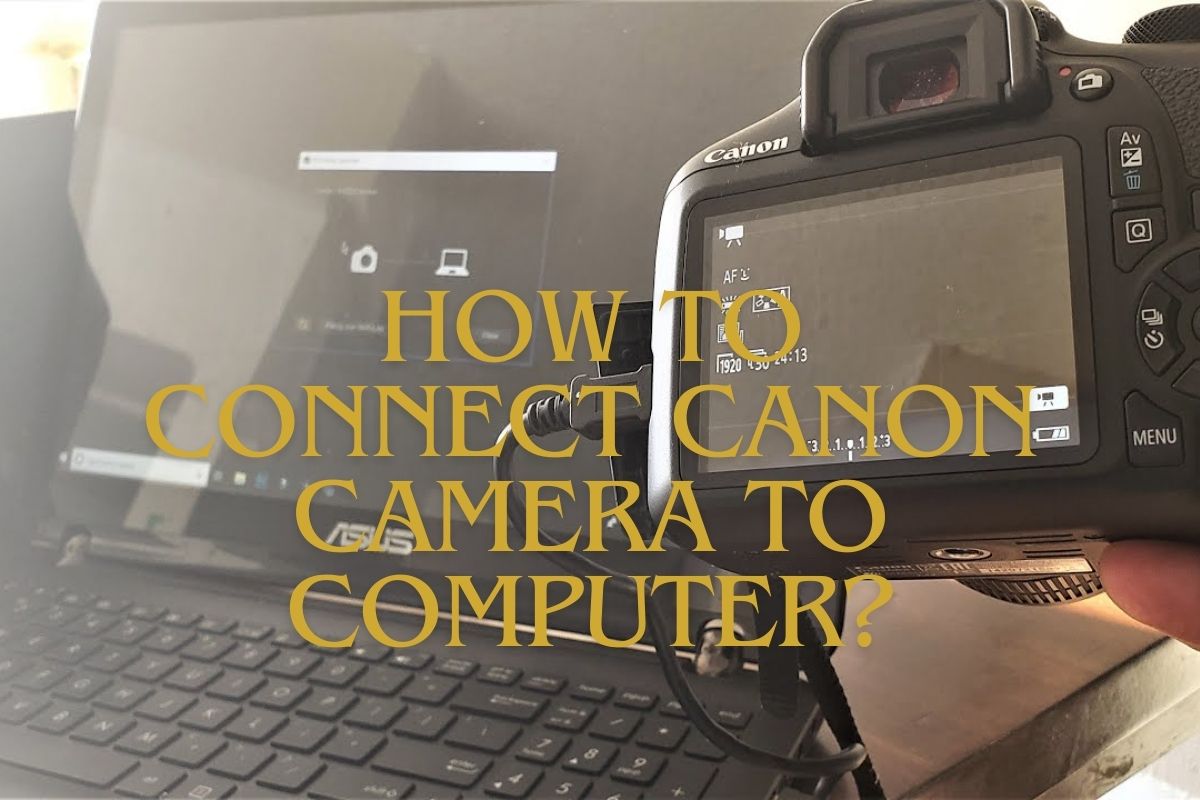
Mastering the connection between your Canon camera and computer is essential. It helps you capture stunning photographs. This guide focuses on using a USB cable for this purpose.
First Step: Preparing to Connect Your Canon Camera
-
Make sure you charge your camera’s battery.
-
Confirm your computer has a USB port.
-
Have your Canon camera’s USB cable ready.
-
Make sure you turn off your camera.
Part 2: Connecting Your Canon Camera to Your Computer
-
Connect one end of the USB cable to your camera.
-
Connect the other end to your computer’s USB port.
-
Turn on your camera.
Transferring Photos and Videos from Your Camera to Your Computer
-
Your computer should detect your camera.
-
Launch File Explorer on your computer.
-
Find your Canon camera’s name under “This PC” or “Computer.”
-
Click on your camera’s name to open it.
-
Select the photos and videos for transfer.
-
Drag and drop the chosen files to your preferred computer location.
Step 4: Editing Your Photos and Videos on Your Computer
-
Open your photos and videos using your preferred editing software.
-
Adjust settings like cropping, brightness, and contrast.
-
Save your edited files to your chosen location.
Step 5: Disconnecting Your Canon Camera from Your Computer
-
Please confirm that you have transferred all photos and videos.
-
remove hardware by clicking the “Remove Hardware” icon.
-
From the connected devices list, choose your Canon camera.
-
Click “Eject” to disconnect your camera.
By following these steps, you can ensure a seamless process. This process includes capturing moments and editing and storing them on your computer.
Must Read: How To Change Input On Roku Tv Without Remote?
How To Connect Canon Camera To A Computer Using Wifi?
Connecting your Canon camera to your computer via Wi-Fi offers a convenient method for efficient photo transfer. Follow these step-by-step instructions:

First Step: Turn on Wi-Fi on Your Canon Camera
-
Press the Menu button on your Canon camera.
-
Navigate to the Wi-Fi menu using the arrow buttons.
-
Select the Wi-Fi function in the menu.
-
Choose “Connect to a device.”
Second Step: Use your Computer to Connect your Canon Camera
-
Ensure your Canon camera and computer are on the same Wi-Fi network.
-
On your computer’s Wi-Fi settings, select your Canon camera.
-
Enter the password displayed on your Canon camera’s screen.
Step 3: Open the Canon Camera Connect app on your computer
-
Download and install the Canon Camera Connect app on your computer.
-
Select your Canon camera from the app’s device list.
-
Please confirm that you have connected your camera to the app.
Step 4: Transfer photos from your Canon camera to your computer
-
In the Canon Camera Connect app, choose the photos for transfer.
-
Select “Download” and start the transfer.
-
Verify the completion of the transfer.
Follow these steps to transfer your photos from your Canon camera to your computer. Use Wi-Fi for added convenience.
Must Read: How To Get Someone’s Instagram Account Deleted?
How To Connect Canon Camera To Computer Using Hdmi?
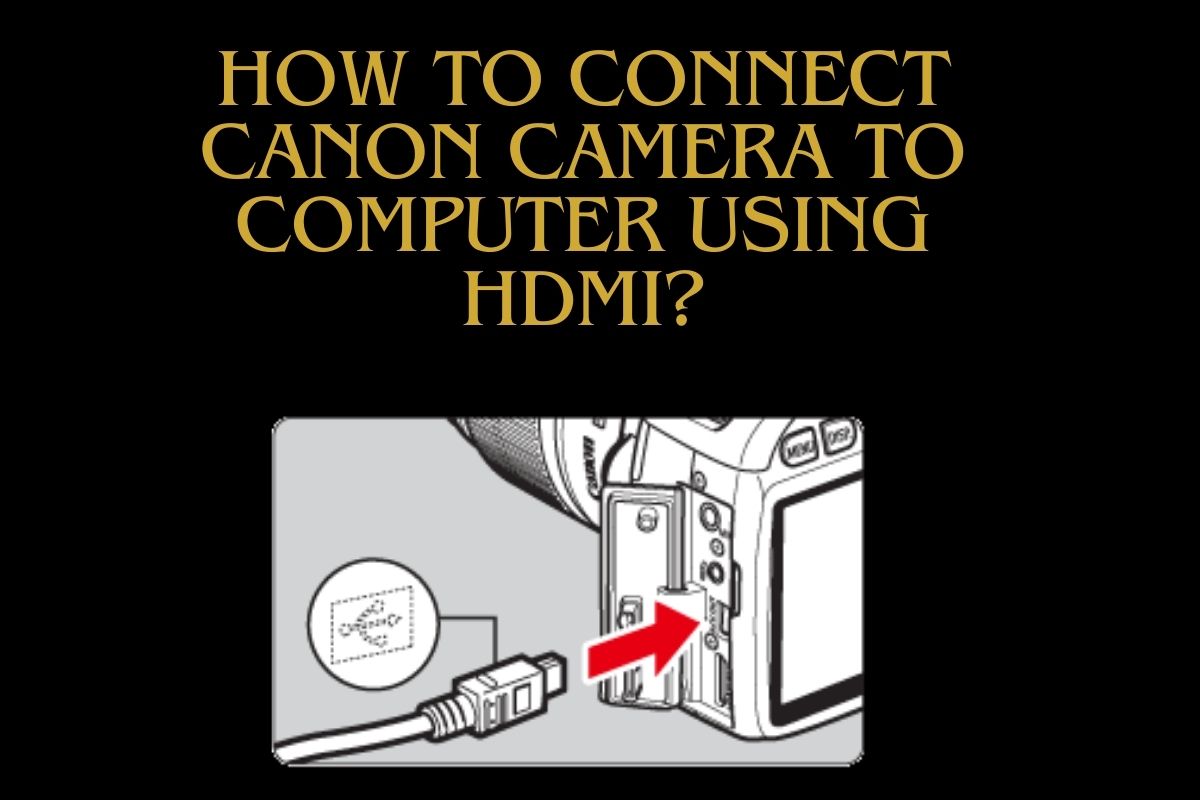
To harness your camera’s potential, connect it to your computer via an HDMI cable. This allows for versatile capabilities. You can use it for media file transfer, editing, and using your computer as a live monitor during shooting.
Before proceeding, locate the HDMI output port on your camera. It’s often a Type-C mini-HDMI port. Refer to your camera’s manual for precise port identification.
Check Your Computer’s HDMI Input Port
Ensure your computer has an HDMI input port, found on the side or back. If absent, use an HDMI-to-USB adapter to connect with your camera.
Use a high-quality HDMI cable to connect your camera’s HDMI output port to your computer’s HDMI input port. Insert the cable for optimal signal transfer.
Turn on Your Camera and Computer
Power on both your camera and computer. The computer should detect the camera. It should then display a live feed from the camera’s viewfinder. Adjust display settings if needed.
Adjust Camera and Computer Settings
Fine-tune settings on both devices for optimal results. Set the camera’s HDMI output mode to “Auto” or “Movie” mode, depending on the model. On your computer, match display settings to the camera’s resolution and aspect ratio.
If you want to use your computer as a live monitor during shooting, use compatible software like EOS Utility, CameraWindow, OBS Studio, or Adobe Premiere. This is optional. These programs allow camera control. They also display a live viewfinder feed on your computer screen.
How To Connect Canon Camera To Computer As Webcam?
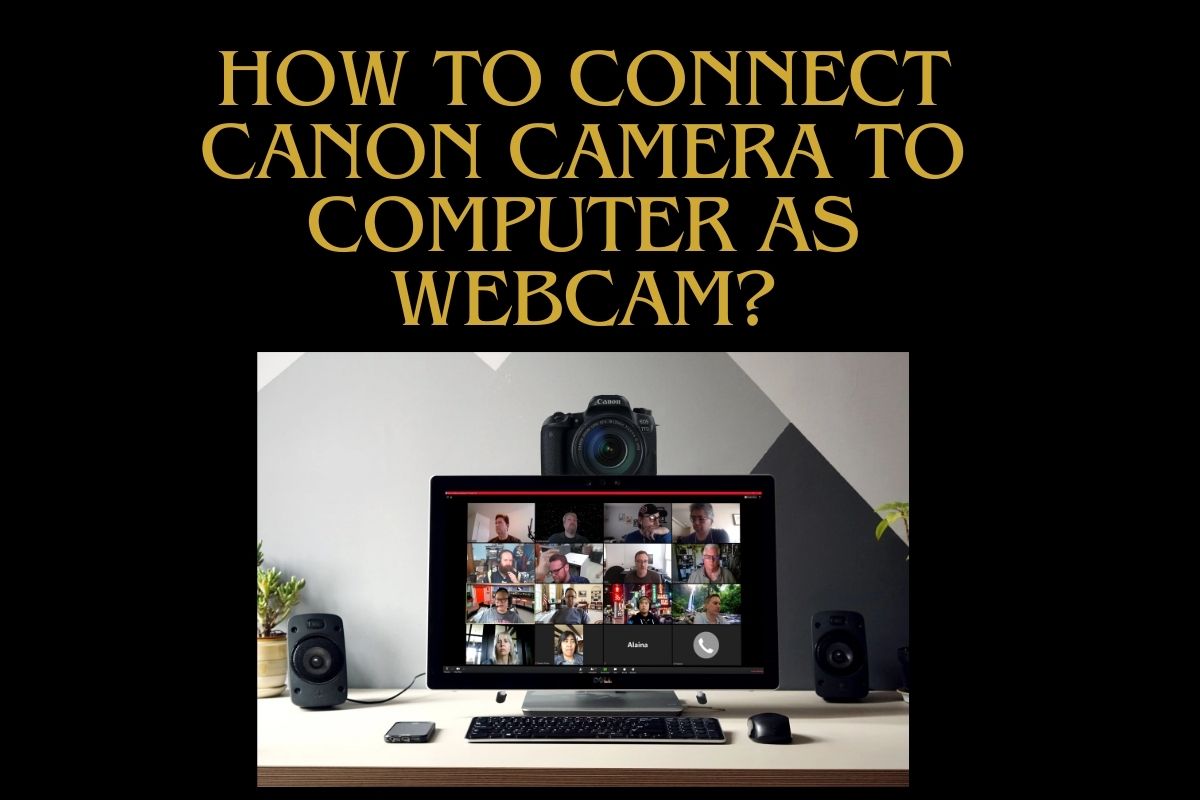
Enhance your video conferencing and streaming experience. Connect your Canon camera to your computer as a webcam. It’s easy. Follow these straightforward steps for impressive video content:
Step 1: Check your camera compatibility.
Check the model of your Canon camera on Canon’s website. This will ensure it is compatible with your computer.
Step 2: Install the Canon Webcam Utility Software.
Download and install the Canon Webcam Utility software from Canon’s website. It’s designed for Canon camera users to utilize their cameras as webcams.
Step 3: Connect the Camera to the Computer
Connect your Canon camera to the computer using a USB cable. Turn on the camera and switch to “video mode.”
Step 4: Set up your camera in the Canon Webcam Utility.
Once you connect your camera, open the software. List your camera and select it, adjusting settings as desired.
Step 5: Choose Your Camera as Your Webcam.
In your preferred video conferencing or streaming software, choose your Canon camera as your webcam. Your computer will recognize the camera as a webcam, allowing you to create high-quality video content.
Conclusion
In summary, connecting your Canon camera to your computer is straightforward. You need essential equipment like a USB cable and the installation of Canon software. This connection opens up possibilities for easy photo and video editing and storage. Linking your camera to your computer offers enhanced flexibility. No matter if you’re a professional or a hobbyist, it helps you manage and access your photos. You can connect your Canon camera to your computer with a few simple steps. This unlocks the advantages of seamless photo management.
Faqs About How To Connect Canon Camera To Computer
How can I connect my Canon camera to my computer?
To establish a wireless connection between your Canon camera and computer, ensure your camera has built-in Wi-Fi capability. Otherwise, use a Wi-Fi adapter. Connect both devices via Wi-Fi. Then, use Canon software or a third-party app to wirelessly transfer photos.
What’s the process for transferring photos from my Canon camera to my computer?
Connect your Canon camera to your computer using a compatible USB cable. Allow your computer to detect the camera and install any required drivers. After installation, use your computer’s file explorer or Canon software. Use it to access your camera’s files. Transfer photos for editing or storage.
How do I connect my DSLR camera to my computer?
Use the USB cable that came with your DSLR camera to connect it to your computer. Your computer will detect the camera. It will guide you through downloading and installing necessary drivers. Once installed, access your camera’s files through your computer’s file explorer. You can also use Canon software to transfer photos and videos for editing or storage.